Hello All,
I took vacation from work this last week and dismantled our front suspension
and wheels to fix a couple of known problems and inspect for others. Known
problems included a destroyed upper ball joint boot, worn/cracking lower ball
joint boots, very noticeable play in the hubs (bearings), worn/cracking brake
hoses. While I was in there, I decided to replace the shocks as well.
I started with removing the calipers - used a 6" 'C' clamp to press the
piston in just enough to clear the disk and no spill over from the brake fluid
res.
Next I worked on getting the hub off and had to deal with the infamous dust
cap! I tried several of the suggestions posted here including the large
channel-lock pliers, tapping at an angle, prying but
the method that worked for me was using the 1 7/8" exhaust clamp on the
cap and borrowing a slide hammer from the auto parts store. Attaching the jaws
of the slide hammer to the exhaust clamp and 4 or 5 pulls with the slide hammer
and the cap came right off!
I think I'd like to build my own special tool (like the one in the manual) to
attach to the cap and use with a slide hammer (just for fun). Has anyone made
one and if so what materials did you use??
After the dust cap came off, I loosened the allen screw on the lock nut, took the lock nut off
and the hub (with rotor) came right off. I left the disk attached to the hub -
I figured it would be easier to remove on the bench than spinning on the
spindle.
I wiped the grease off the spindle and checked for wear. I couldn't see any
noticeable wear on the inner or outer bearing locations but remembered reading
some threads here about feeling the underside of the spindle for wear. Sure
enough, there was a barely perceptible groove on the underside of the spindle.
It did not seem to be bad enough to get new spindles, though.
I used a screwdriver and carefully pryed the inner
seal out of the hub as the WSM recommends. Then I used a punch with flat head
to carefully drive out the inner and outer races. I've been using Aerokroil for lubricant - seems to work better than WD-40.
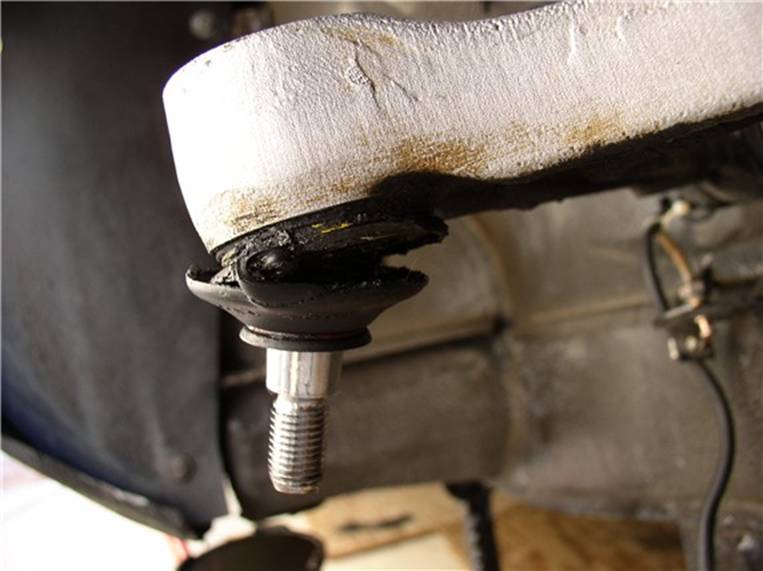
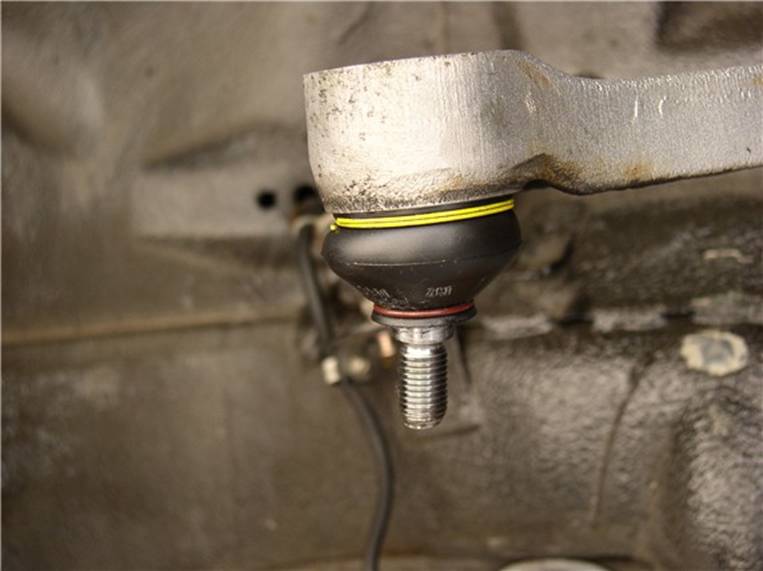
With the spindle off, I went after the upper ball joint boot. I replaced the
other one a couple of months ago when I had the engine out but couldn't get to
this one at the time (not enough room).
I went with synthetic disk brake bearing and chassis grease...
Even though the WSM suggests taking out the upper contol
arm to remove the shocks, it looked like a real knuckle buster job to get at
those nuts on the inside of the engine compartment - although I read here that
some brave souls have done it! I wish I had done this a few months ago when I
had the engine out! ![]()
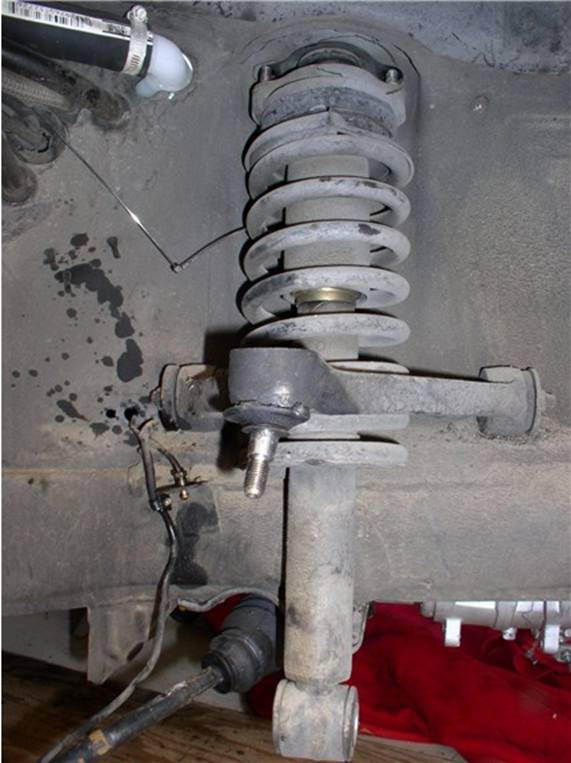
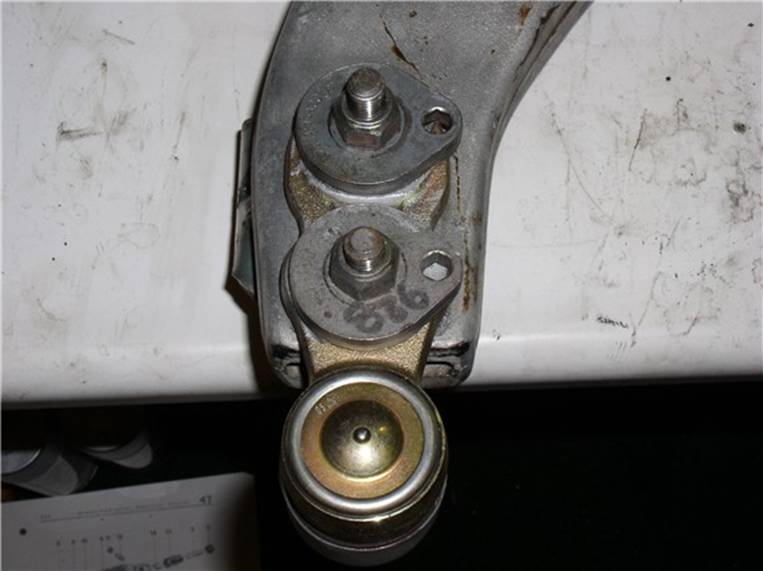
I thought I'd go with taking the lower control arm off (since I had to replace
the ball joints anyway) and try maneuvering the shock down through the A-arm.
With a little elbow grease, I needed to lift the control arm up with one hand
and at the same time use the other hand to grab the shock and maneuver down
through the opening - oh yea, it would have been nice to have a third hand to
take the picture!
More muscle power was needed....
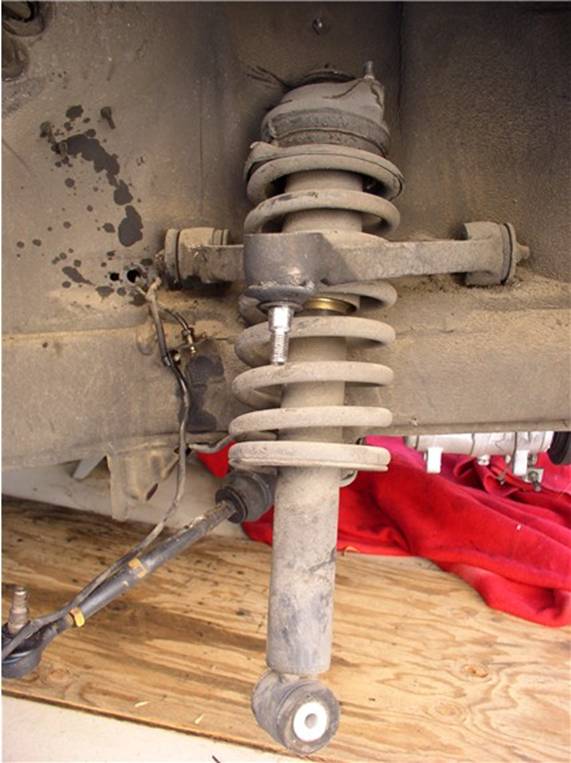
And out it came!

With the lower control arms out, putting in the new ball joints was pretty
easy. I noticed on the driver's side that the eccentric was the old version
installed with the new version ball joint. Of Course, the WSM says you can't do
that but the
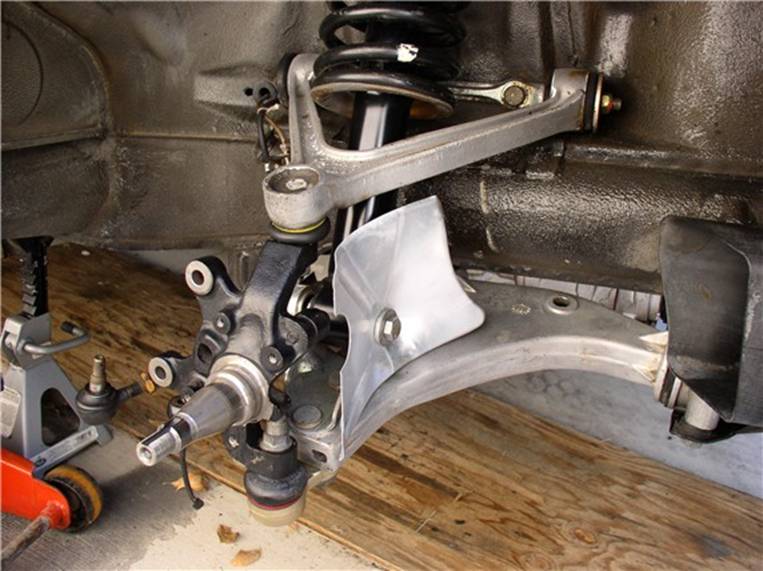
Before putting it back together, I cleaned the wheel well and found that the
undercoating actaully has a glossy finish to it - and
I thought it was supposed to be dull brown all this time! I also replaced this
front splash panel since it was only being held in place by one screw. It was
strange seeing nothing but the upper A-arm in the wheel well...

I began reassembly. The shocks went back in the same way they came out. They
were fairly straight forward to replace - used the Boge.
The trick is getting the spring lower plate mounted on the shock in the right
location/orientation to the bottom shock mounting. I marked the bottom plate
while it was still on the old shock. I marked it where it lined up with the
center of the eye of the bottom shock mount and oriented it in the same
position on the new shock.
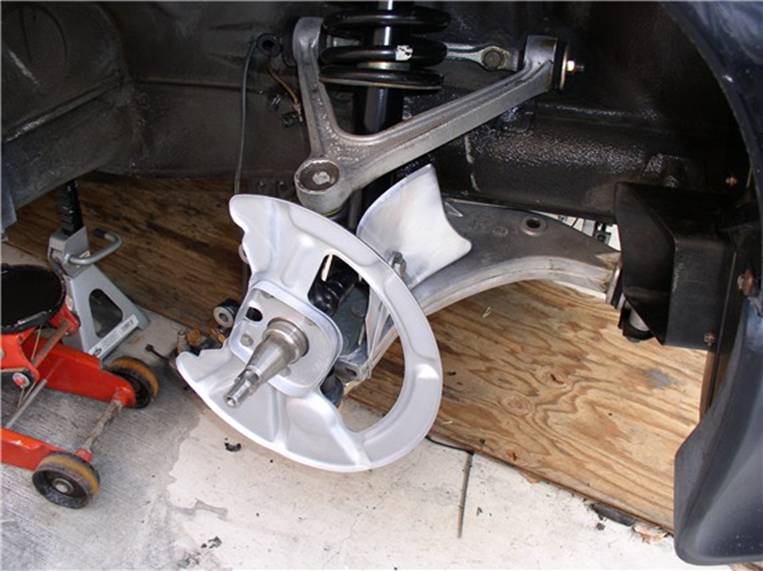
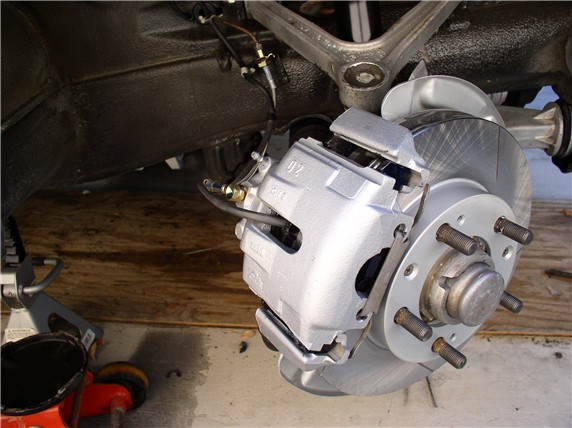
I also painted the rotor shield with brake caliper paint (after a dip in the
acid bath) - 3 coats of paint, 3 coats of high temp engine clear coat...
When putting the hub on the spindle, I followed the procedure posted by one of
the Rennlisters - tighten the lock nut down with a
pair of pliers, then back off the nut and snug up by hand only and make sure
you can move the thrust washer with the end of a screwdriver without having to
lever the screwdriver.
To get the dust cap back on, I gently tapped on it to get it started on
straight then used a large socket that covered most of the top of the cap and a
3-jaw pulley puller to press the cap back on with no banging. I attached the
lips of the jaws to the other side of the hub.
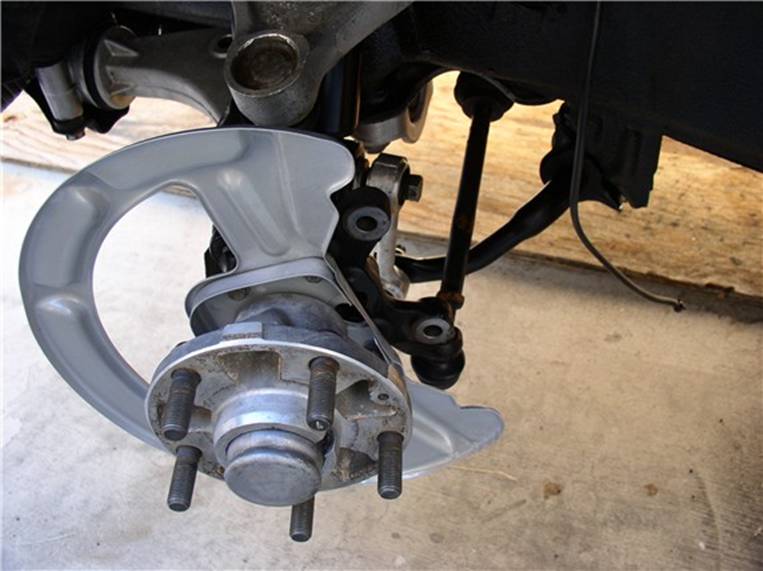
Finally, I installed the brake calipers. While I had the brakes out, I decided
to clean up and rebuild the calipers - thanks to previous Rennlist
posters that explained/showed how to do it on later model brakes. I'll post a
separate thread on how that went. I went with the stainless steel braided brake
hoses rather than the stock replacement. I like them better - Thanks to Jim B.
at 928Intl for the recommendation!
Oh yea, the loose play in the hubs is gone! ![]()
![]()
Well, now I'm off to the alignment shop (after the car settles, of course). I
couldn't find a shop here in Ridgecrest with the Hunter DSP400 machine (as
recommended by a fellow Rennlister - THANKS!) so I'll
have to settle for "close enough" until I can find a quality
alignment shop and drive to Lancaster, Palmdale, Victorville, San Bernardino,
CA, etc. to get a proper 4-wheel alignment. Anyone know if a shop in one of
these (or a nearby) city that does a good job and has the right equipment and
will let me watch so I can do my own alignments in the future???
All together, the following parts were replaced:
Lower ball joints, upper ball joint boot, shocks, stabilizer bar bushings,
brake hoses, brake wear sensor wires, wheel bearings, brake caliper seals and
dust boots, rotors, brake pads, fender spash shield,
lower ball joint eccentric.
THANKS for the help and for reading this post!
Another job checked off the 928-to-do-list!