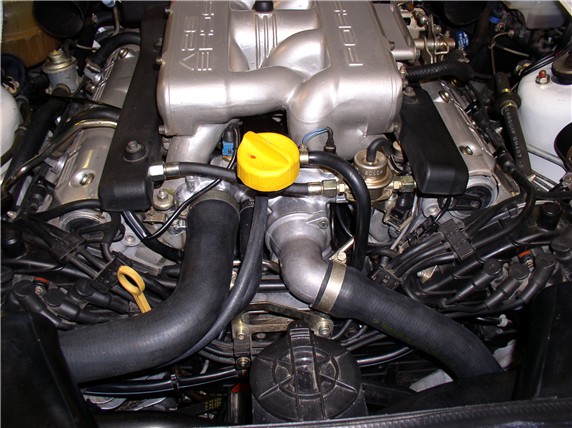
So I noticed
oil seeping from the oil filler neck on the 88 to the point where it was
pooling in the block 'pits'. Being a newbie, I couldn't see how to get at the
oil filler gasket except by taking off the intake or removing the thermostat
housing. The thermostat housing looked like it would not come out without
removing the filler pipe. After some research, I found a picture of the
thermostat housing removed while the filler neck was still in. That was all I
needed to get started...and I was looking forward to some quality under the
hood time with the S4. ![]()
So for the other newbies that would like to perform
this job, I've included some pics of how I did it. Not
too hard.
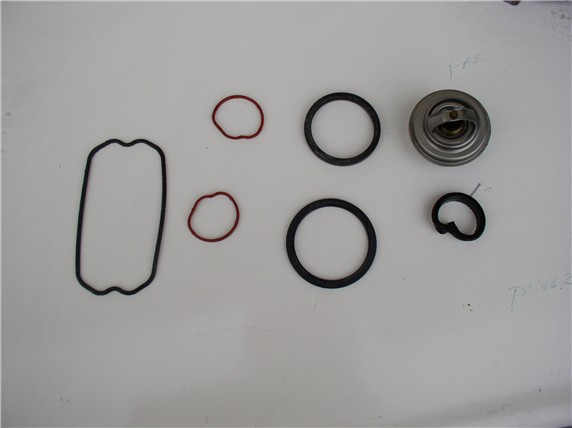
First, here's the gaskets I ended up replacing - thermostat housing to heads
(2), thermostat housing to block o-ring, thermostat o-ring, thermostat sealing
ring at back of housing, new thermostat, oil filler neck gasket - so it's best
to get these ahead of time.
First, Jack up the car and support it with jackstands.
Then, remove the cross brace. It takes an 8mm allen wrench.
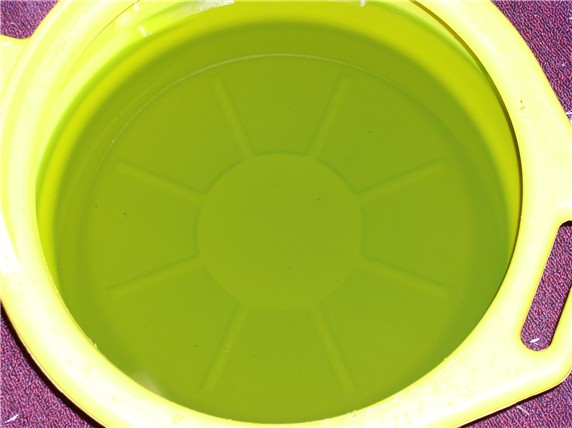
Next, drain the radiator and the engine block (2 13mm bolts one on each side of
the block). Radiator fluid looked OK, the previous
owner changed it last in 2004.
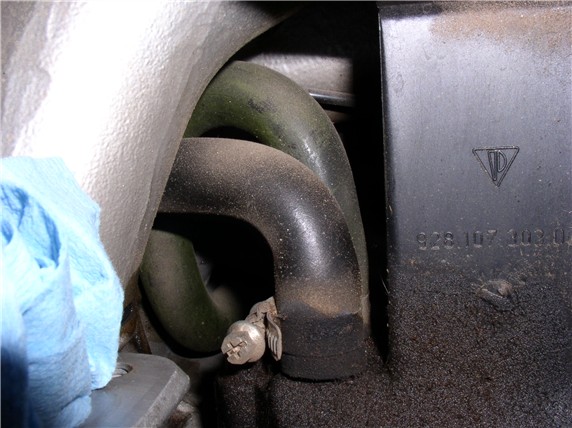
Next, I removed the hoses from the thermostat housing. There are 4 - block to
radiator, radiator to block, bleeder, and heater return hose. I replaced all 4
hoses since they were all original and 20 years old.
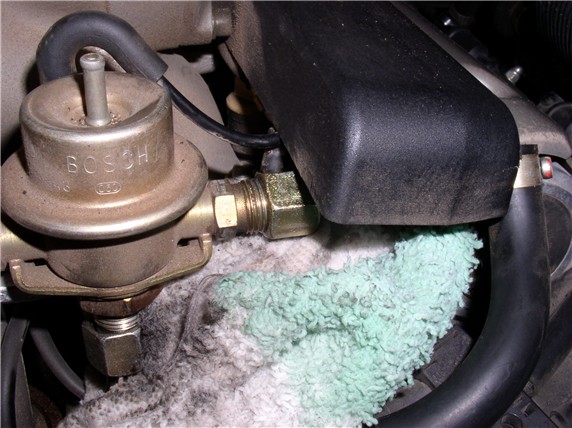
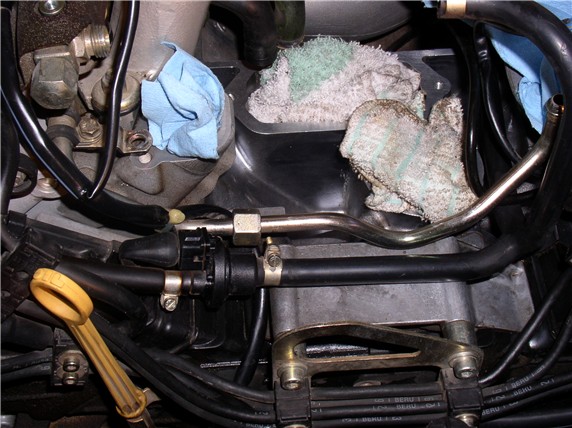
I then removed the fuel pressure damper. I took the plastic cover off the
passenger fuel rail so I could access the hex mount to counter hold the
connection - then disconnected the hose.

Next, came the remaining 2 connections - one at the
driver's side fuel rail and the other at the bottom of the damper. Also remove
the vacuum connection at the top.
Then I removed the thermostat housing allen
head bolt (6mm) that also holds down the damper bracket.
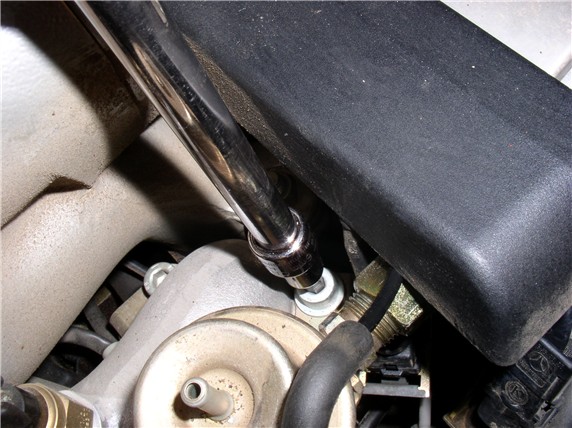
The damper assembly comes out.
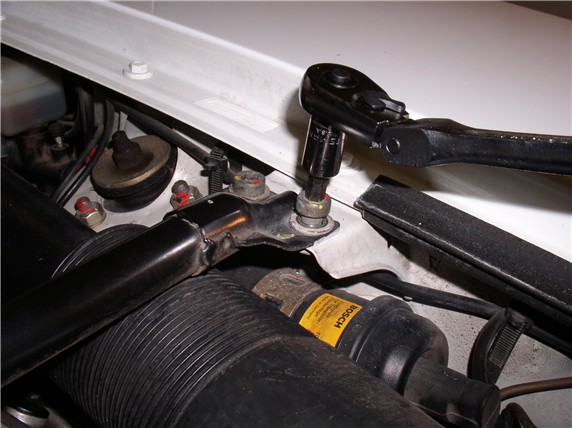
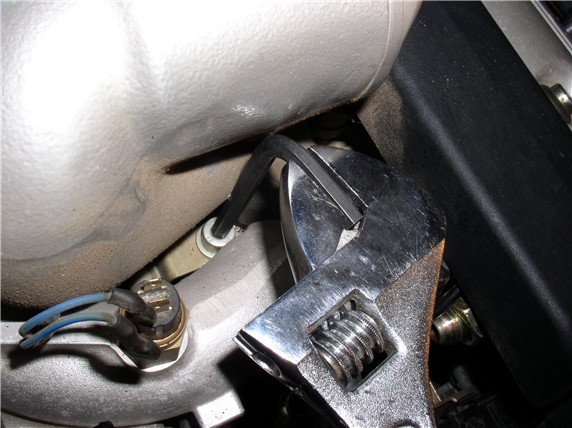
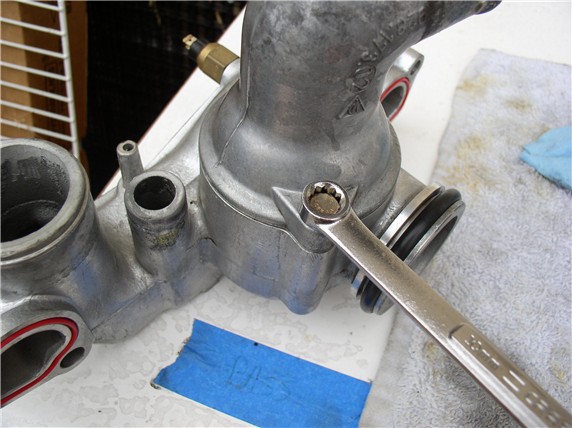
Next, I took the remaining thermostat housing allen head bolts out. The tricky one is the driver's
side rear next to the intake. It's next to impossible to get a socket extension
in there straight so I used a regular allen
wrench with an adjustable wrench on top to turn it. This allowed me to get a
straight and solid fit with the wrench and avoid stripping it out.
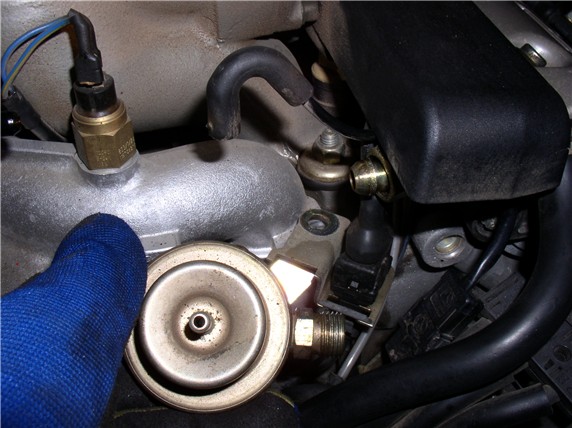
After the bolts are removed and the two temperature sensor wires disconnected
from on top, the housing comes out but it's a tight fit. By rocking it back and
forth and pulling up and toward you at the same time, it eventually comes out.
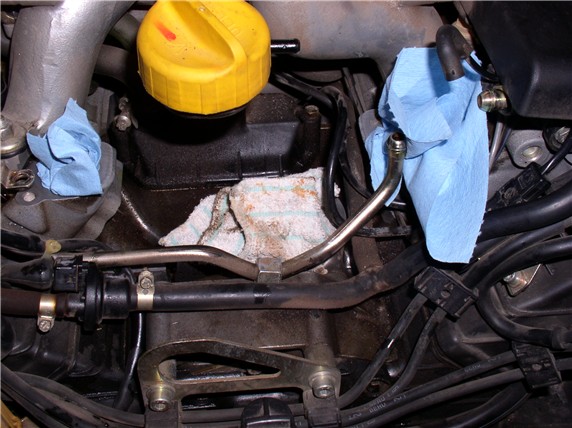
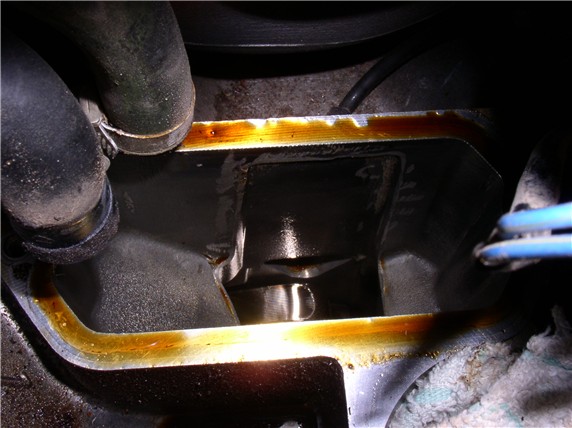
Once the housing is removed, it's a good idea to stuff the openings with
something to prevent debris from falling into the openings while working on
getting the filler neck out.
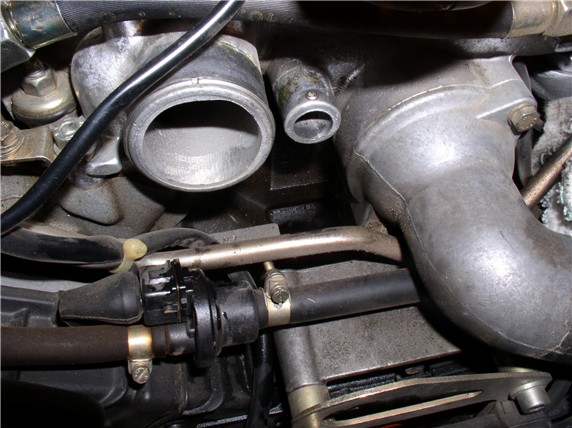
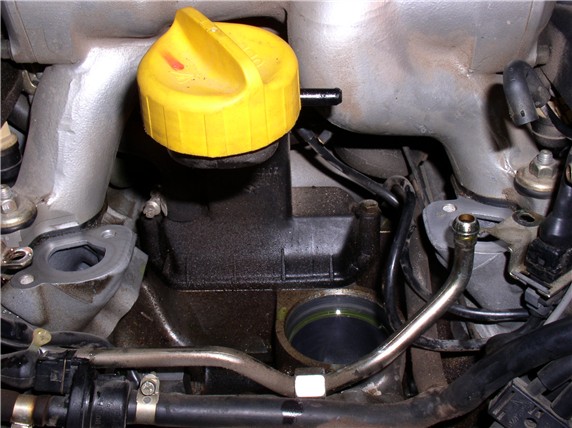
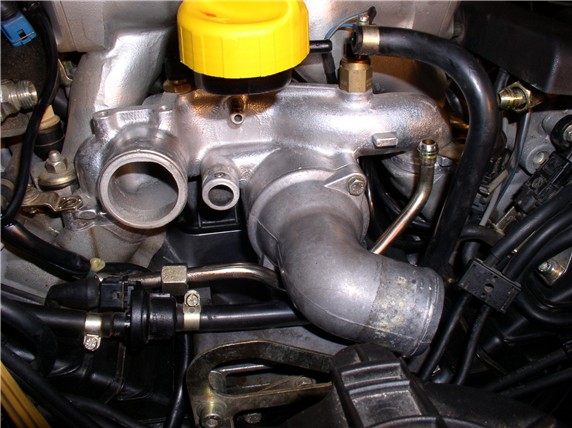
Next, to
remove the filler neck, I disconnected the two hoses attached to the base.
Then remove the two 10mm bolts that hold the filler neck to the block.
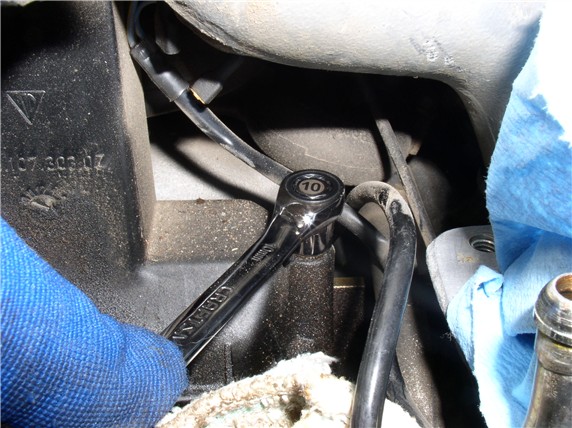
Remove the filler neck...
And plug the hole to prevent debris from entering the block.
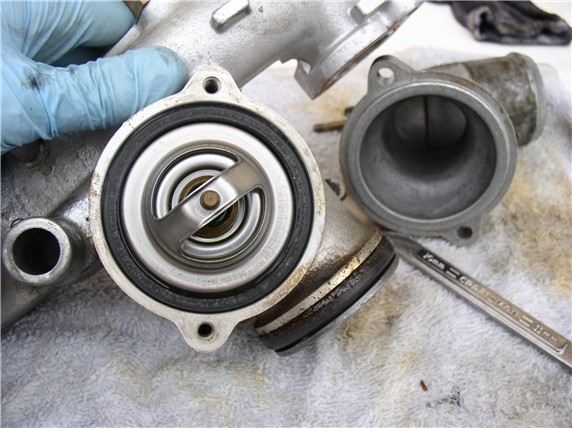
With the thermostat housing out, I began disassembly. First I removed the
thermostat cover plate.
I made note of the orientation of the thermostat. Notice the 'up arrow' on the
thermostat oriented at the top as well as the o-ring on top of the thermostat.
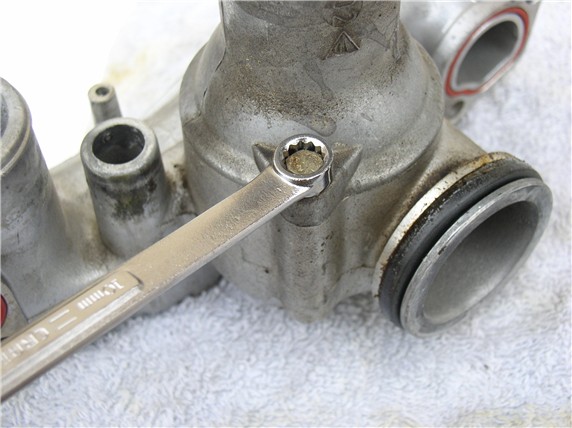
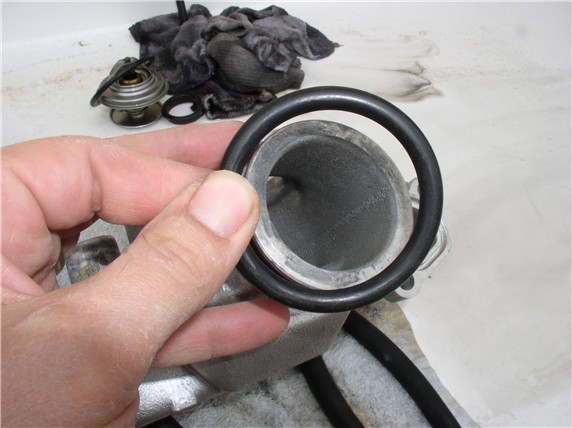
I then removed the thermostat sealing ring at the rear of the housing. I used a
screwdriver to bend the edge in toward the center enough to get a grip with
some pliers then pulled it out with the pliers being careful not to damage the
housing.
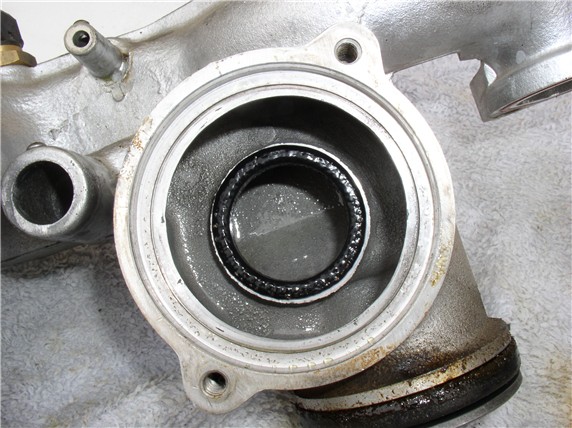
After removing the remaining gaskets and o-ring from the housing, I began
putting in the new seals, gaskets. First the sealing ring at the rear of the
housing. This just presses in.
The sealing ring sits flush...
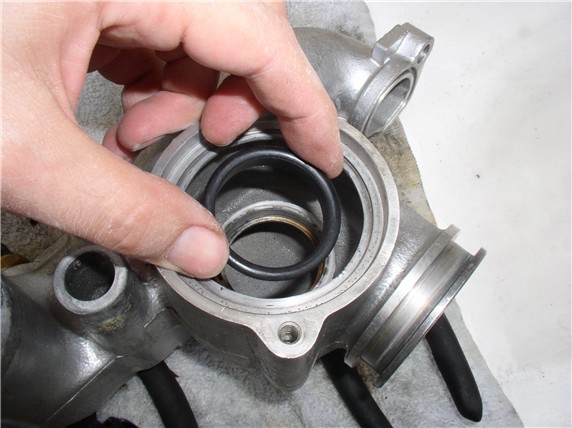
Next, I installed the housing to heads gaskets.
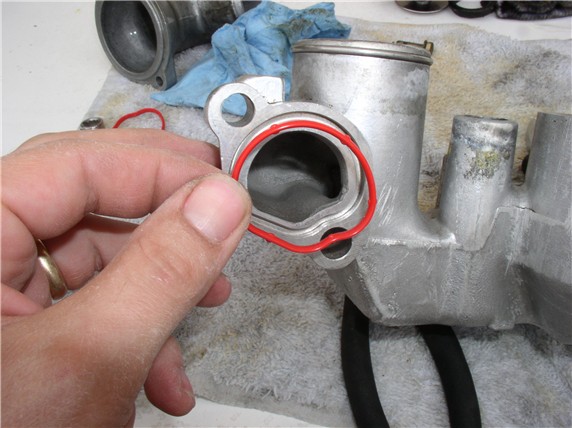
Then the large o-ring for the connection from housing to
engine block.
Next came the thermostat and o-ring. I placed the thermostat in
with the arrow oriented at top followed by the o-ring.
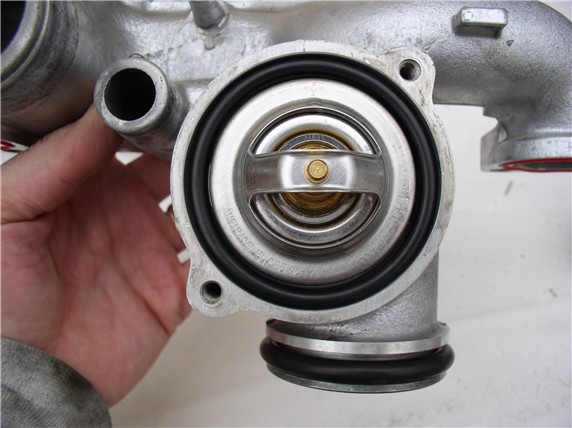
Then tighten the thermostat plate back on.
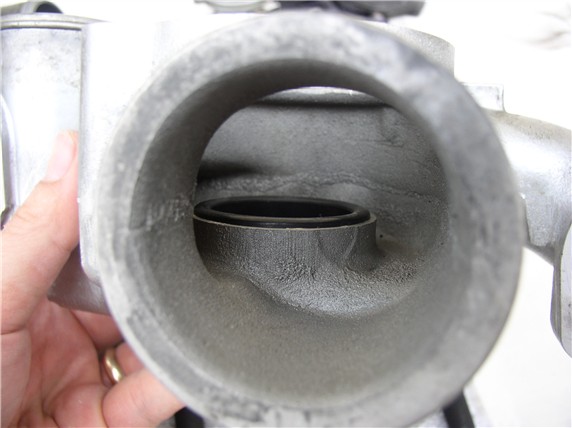
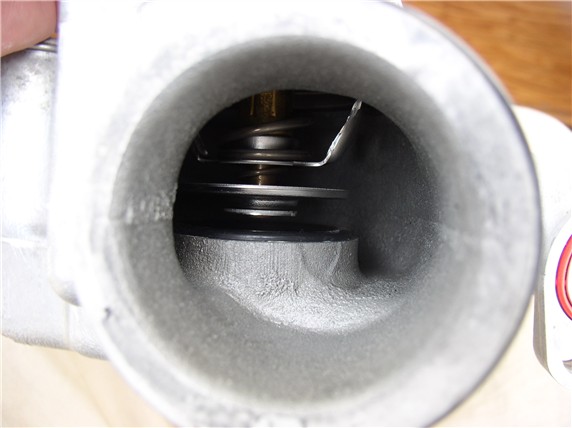
Here's a pic of the clearance between the thermostat
and rear seal when the engine is cold - recirculating
coolant through the engine until the thermostat closes against the seal and
simultaneously allows water to flow to the radiator.
Next the parts are ready for installation. I installed the filler neck first
(after cleaning it off and installing the new gasket, of course.
Then comes the thermostat housing. Installing it the
same way it came out - rocking and pushing down and away from you. After some
maneuvering, it will go back into place. Before putting the
thermostat housing back in, you could fill the engine block with coolant to
minimize the bleeding. However, I left it empty and needed to spend a
little extra time allowing it to bleed off the air in the block before I would
get normal temperatures.
At this point, finishing the job is a matter of installing the thermostat
housing bolts back in (14 ftlbs - the manual
recommends the 2 step approach - 7 ftlbs first then
14 ftlbs next). Remember to install the fuel pressure
damper bracket back in place before tightening the driver's side front allen head bolt. Finally,
re-attach the crossbrace and tighten down before
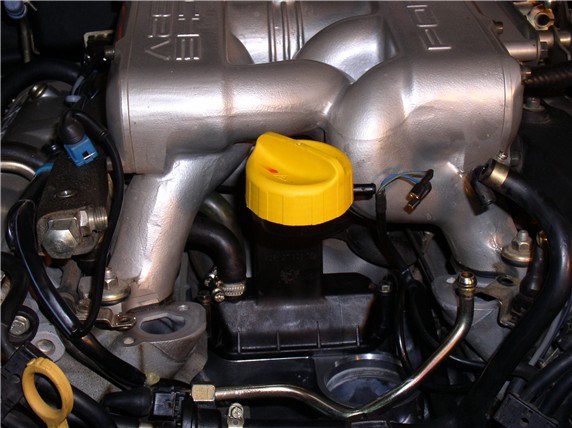
lowering the car. Here's everything back to gether
again...